Monday, March 7, 2011

Sweet Heat Chili (Slow Cooker)

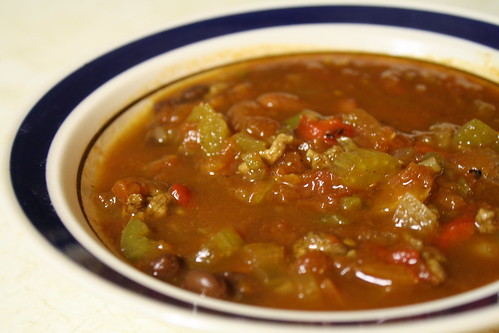
IMG_5061

When I came across this recipe on Mel's Kitchen Cafe, I immediately wanted to try it. Normally, when it comes to chili, I totally wing it and end up with a new recipe each time. I LOVE it. But there was something special, something unique about this recipe, so I did my best to follow it to a T. I love the wide array of vegetables in this chili. I think that's my favorite part of this recipe. It's not just meat, beans, and tomatoes

The only changes I made to the original recipe (besides slow cooking rather than stove-topping it) were roasted red peppers for sundried tomatoes (as I didn't have any) and I added jalapeƱos--making my chili a bit heavier on the "heat" than the "sweet" side of things. . It was still really delicious, and we're super excited to have leftovers. Chili just gets better with time. 
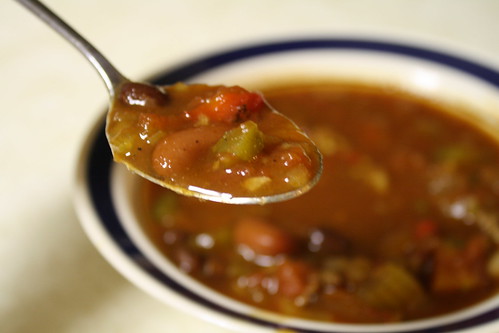
IMG_5072


Sweet Heat Chili
recipe adapted from melskitchencafe.com
Serves 8-10

Ingredients
1 medium onion, diced
1 large green bell pepper, diced
3 stalks celery, diced
3 cloves garlic, minced
1/2 to 1 lb ground meat
4 cups beef stock
2 cans (28 oz. each) whole stewed tomatoes
1- 14oz can kidney red beans, drained and rinsed
1- 14 oz can black beans, drained and rinsed
1/2 cup roasted red peppers, chopped
1 jalapeƱo pepper, seeded and diced 
3 bay leaves
1 tsp dry mustard
1 Tbsp chili powder
1 tsp paprika 
1/2 tsp pepper
1/2 tsp garlic powder
1/2 tsp onion powder
1/4 cup brown sugar
2 tbsp balsamic vinegar
salt to taste


Directions
Heat a medium skillet over medium low heat and brown the ground meat. Drain and rinse off excess fat.
Pour the cans of stewed tomatoes into a food processor and pulse a few times to desired consistency. 

Combine all ingredients into a 6 or 7 quart slow cooker and cook on low 6-8 hours, or on high 4 hours. 

Serve with a dollop of sour cream. 

----
Don't miss a recipe! Subscribe.

Saturday, March 5, 2011

Honey Yeast Rolls

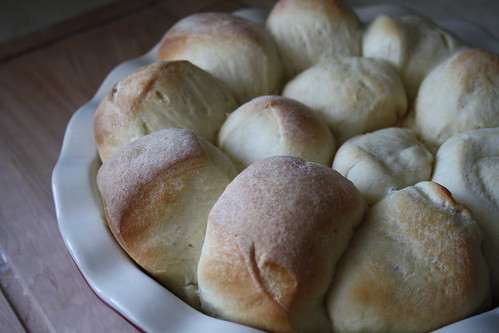
IMG_5060

I am so sorry I didn't make these sooner! No matter how many different rolls Annie makes, she always comes back to these as her favorites--and now I know why! These rolls are perfection. They are simple to make and the results are out of this world. The perfectly crisp exterior gives way to a light and fluffy inside that nearly melts in your mouth. Kevin loved them so much he asked if I could make them every day. :) I hope I do!


Honey Yeast Rolls
recipe adapted from annies-eats.com
Yields 10-12 rolls

Ingredients
2-1/2 tsp. instant yeast
1 cup warm water (105-115˚ F)
1/4 cup honey
3 Tbsp canola oil
1-1/4 tsp. salt
1 egg, lightly beaten
4 cups flour
Vegetable cooking spray
2 Tbsp butter, melted--optional
2 Tbsp honey--optional

Directions

Note--a stand mixer makes fast and easy work of these rolls, but they can also be made by hand.

In a large bowl, stir together yeast and warm water. Mixture will bubble. To the yeast mixture, stir in the honey, oil, salt, and egg. Mix until evenly combined.

Gradually stir in 3 cups of flour (the 4th cup will be added later). Dough will become sticky, but keep stirring until it comes together in a cohesive ball. Slowly stir in the remaining 1 cup of flour. Use a dough hook or knead by hand for 8-10 minutes, adding a sprinkle of flour as needed. Dough should be smooth and springy.

Coat a large bowl with a light layer of oil. Move dough to this bowl, rolling it around to coat lightly with the oil.  Cover loosely with plastic wrap or a tea towel. Move to a warm place in your kitchen and let rise for 2 hours, until the dough has doubled in size.

Once the dough has finished rising, lightly flour a counter top or cutting board and knead dough briefly for 30 seconds to remove air bubbles. Let dough rest on the counter, covered with a tea towel, for another 10 minutes. Punch the dough down and use a knife or bench scraper to cut into 12 pieces. Shape each piece into a smooth ball. Spray a 10 inch round baking dish/deep dish pie plate with non-stick spray. Place dough into the pan, spacing evenly. Place the towel over the rolls and allow another 30 minutes to rise.

Preheat the oven to 400F. If using the optional honey-butter spread, combine the melted butter and honey and brush on top of rolls. Bake for 15-20 minutes, or until the tops are golden brown and the rolls are baked through. Serve warm.


Thursday, March 3, 2011

Buttermilk Pancakes 2.0

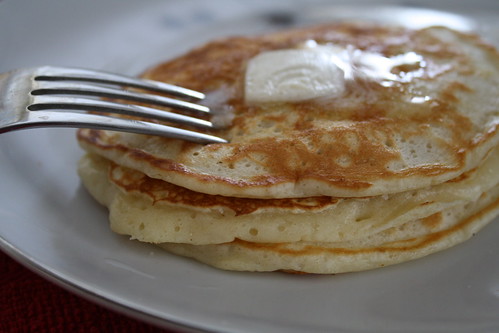
IMG_4276

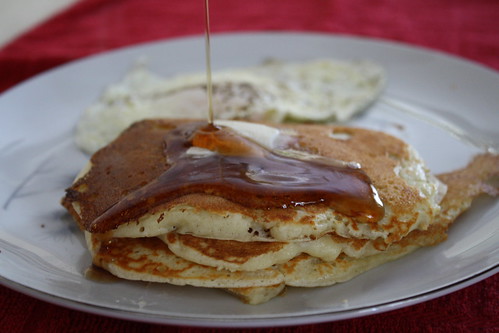
Like I said a few days ago, I love me some pancakes. Typically, I gravitate towards the thick and fluffy pancakes. This one is my favorite. But when Kevin and I are in the mood for a traditional pancake--the kind you might get from a box mix--this is definitely the recipe to go for. Fast, easy and delicious, start your weekend the right way!

IMG_4296

Best Buttermilk Pancakes
recipe adapted from browneyedbaker.com
Yields: 16 four inch pancakes

Ingredients
2 cups flour
2 Tbsp sugar
1 tsp baking powder
1/2 tsp baking soda
1/2 tsp salt
2 cups buttermilk*
1/4 cup sour cream
2 eggs
3 Tbsp unsalted butter, melted and cooled slightly
1 to 2 tsp vegetable oil, for greasing the pan

*Make your own buttermilk: Mix together just under 2 cups milk and 2 Tbsp lemon juice. Let sit for 5 minutes. Stir.

Directions
In a large bowl, whisk together flour, sugar, baking powder, baking soda and salt. In a separate bowl,  combine buttermilk, sour cream, eggs and melted butter. Stir wet ingredients into dry ingredients, until just combined. Batter should be slightly lumpy. Let the batter to sit for 10 minutes before cooking.


Heat a griddle or skillet over medium heat. Spread butter over the warm skillet. Pour 1/4 cup of the batter onto the skillet for each pancake. When the top begins to bubble and pop, flip the pancake and cook 2-3 minutes on other other side. Once the bottom is golden grown, remove from the skillet and serve warm.

Note: to keep pancakes warm while preparing a large batch, transfer pancakes to a heat-safe dish and cover with foil. Place in an oven preheated to 200 degrees.


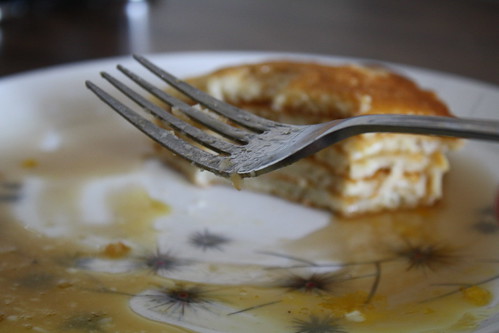
IMG_4307


-----
Don't want to miss a recipe? Subscribe!

Tuesday, March 1, 2011

Snickerdoodles

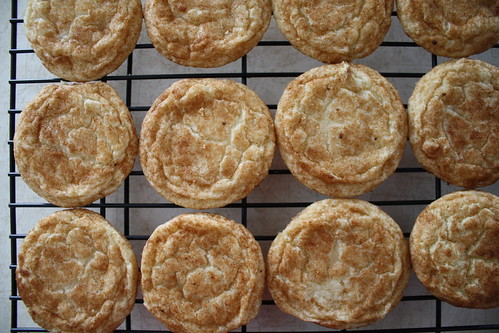
IMG_5332

originally posted June 9, 2009. 

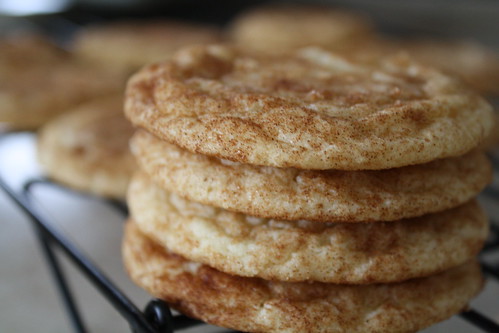
I could hardly believe I hadn't posted a snickerdoodle recipe yet. Craziness. This is one of my favorite cookies and making them has fond memories of my growing-up years, yet for some reason I don't bake them very often. The cookies have a delightful crisp surface, with a soft center, and the perfect cinnamon-sugar flavor. This recipe comes tested and true from the kitchen of one of my best friend's mom, Colleen. Elizabeth and I baked these cookies together quite often and loved them. I hope you do, too!

IMG_5342

Snickerdoodles
recipe adapted from Colleen V., a longtime family friend
Yields: 4 dozen cookies

Ingredients
1/2 cup softened margarine
1/2 cup shortening
1-1/2 cup sugar
2 eggs
2-3/4 cup flour
2 tsp cream of tartar
1 tsp baking soda
1/4 tsp salt
2 Tbsp sugar
2 tsp. cinnamon

Directions
Preheat oven to 350 degrees. 
In a large bowl, cream together margarine, shortening and sugar until light and fluffy. Beat in eggs. Add in flour, cream of tartar, baking soda, and salt. Stir until just combined. Refrigerate dough for at least 30 minutes or, if using a cookie scoop, begin scooping.
Combine cinnamon and sugar in a small bowl. 
Roll dough into walnut sized balls (or use a cookie scoop) and then coat with cinnamon-sugar mixture. Place 2 inches apart on ungreased cookie sheet
Bake for 8-10 minutes until tops are cracked and edges are golden.